
Coconut Ice Cream
This is a recipe for a non-dairy 3-ingredient coconut ice cream. And it does not require condense milk or an ice cream machine. Opting for maple syrup or palm sugar syrup makes this a vegetarian or vegan friendly ice cream.
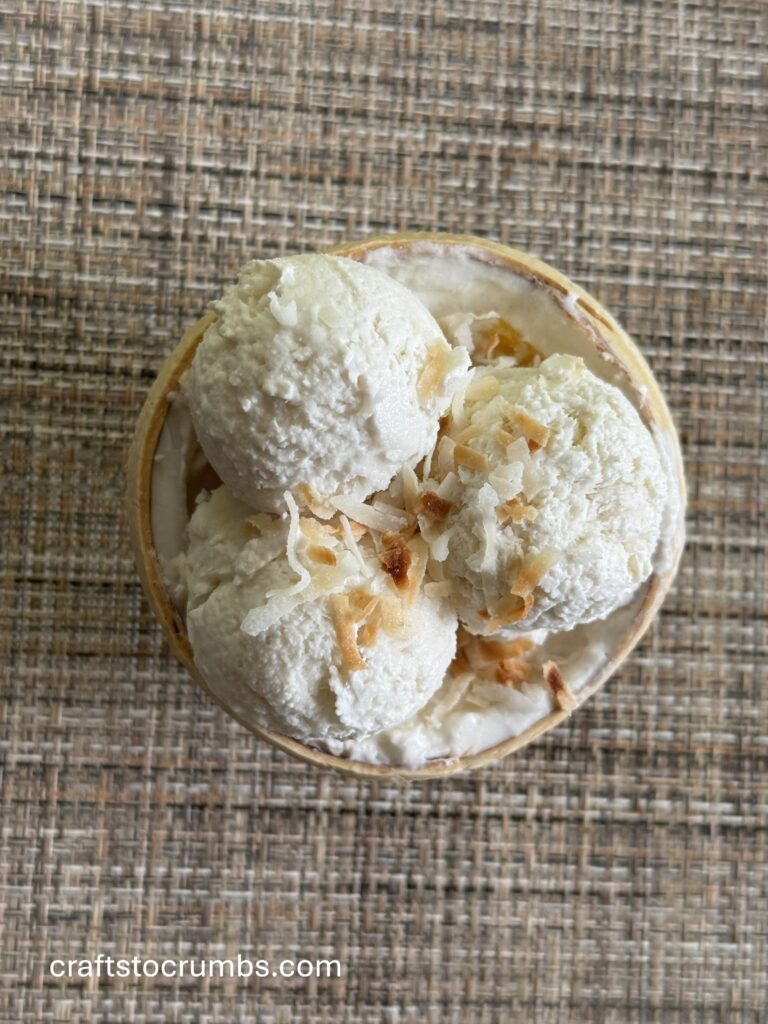
Adding toasted sweetened coconut brings out the coconut flavor and had me craving more. Since summer break season is in full swing, I assembled a version of an ice cream sundae that was reminiscent of a Southeast Asian vacation.
Notes:
- Coconut milk (or unsweetened coconut cream) – use unsweetened, full fat, coconut milk. You can use coconut cream, but just make sure you are using the unsweetened coconut cream, which is typically the fatty part that is skimmed off the top of coconut milk. However, if you are using coconut cream, make sure you are using the unsweetened coconut cream. There are sweetened coconut cream which has a lot of additives and is not the same as unsweetened coconut cream. One way to find out if you have the correct coconut cream, is the check the labels. Unsweetened coconut cream typically has only a few ingredients like coconut milk, water, and a preservative.
- Maple syrup or palm sugar syrup – for vegetarian or vegan friendly options use maple syrup or palm sugar syrup. It is about 1: 1 ratio. Note that the flavors will be different. Palm sugar syrup can be made by reducing palm sugar or date sugar with a little bit of water until it becomes syrupy. This is a common syrup used in South Asian and Southeast Asian cooking and desserts. With the water in palm sugar syrup, I found this version of the ice cream slightly icier.
- Whipped coconut milk – if you bake often, you may have noticed that the method used in this recipe is the method for making coconut whipped cream. One difference is that we’re using the whole can of coconut milk rather than just the fatty cream from the top of the can after it is chilled. So, with the additional liquid you’ll find that you may not get to a stiff peak stage. If you are using coconut milk, aim for a thickened cream that looks like soft whipped cream that you can dollop onto a dessert.
- Chilling the Coconut milk – the coconut milk can be chilled in the fridge in the can if you don’t have refrigerator room to chill the whole bowl. After chilling, pour the coconut milk into the bowl before whipping. In some cases, chilling equipment like the bowl and beater is recommended. So, chilling the can of coconut milk in the bowl captures both.
- Hand mixer/ stand mixer – a hand mixer or stand mixer can be used for this recipe. Use a large bowl. I found the amount of time to whip is about the same whether you are using a hand mixer or a stand mixer. If you have a smaller bowl, you may need a splash guard or place a clean kitchen towel over your mixer and bowl because the mixture can splash.
- Toasted sweetened coconuts – in the spirit of not cooking during these hot days, quickly make toasted coconut by placing a handful of sweetened coconut flakes on a microwave safe plate and microwave in 30 second intervals, tossing after each interval until the coconut flakes are fragrant and golden. This simple topping can elevate the coconut ice cream and is one of my favorite ways to top the ice cream.
Coconut Ice cream
Serves: 3-4
Time: 12 hours, including inactive time
1 (13.5 oz) can coconut milk (or coconut cream), unsweetened and full fat**
¼ cup honey or maple syrup or palm sugar syrup
1 teaspoon vanilla extract
Optional topping/accompaniment
Scraped young coconut
Toasted sweetened coconut
Mangoes, diced
Sticky rice/ sweet rice
- Pour coconut milk into a large bowl. Cover with plastic wrap. Chill the bowl with coconut milk in the refrigerator for 8 hours or overnight.
- After coconut milk is chilled, add honey or syrup, and vanilla extract.
- Using a hand mixer or stand mixer on high, beat the coconut milk mixture until it thickens. This may take 10-15 minutes. You want the coconut milk mixture to look like soft whipped cream.
- Transfer into a loaf pan and cover with plastic wrap.
- Place the loaf pan into the freezer and freeze for at least 4 hours before serving.
- Let the loaf pan sit at room temperature for 5 minutes before serving with your favorite toppings and accompaniments.
- Store in an airtight container for up to a month in the freezer.
Discover more from Crafts to Crumbs
Subscribe to get the latest posts sent to your email.


Gonna trythe cocunut ice cream ,looks yummmmmmyyyyy,
Hope you like it!