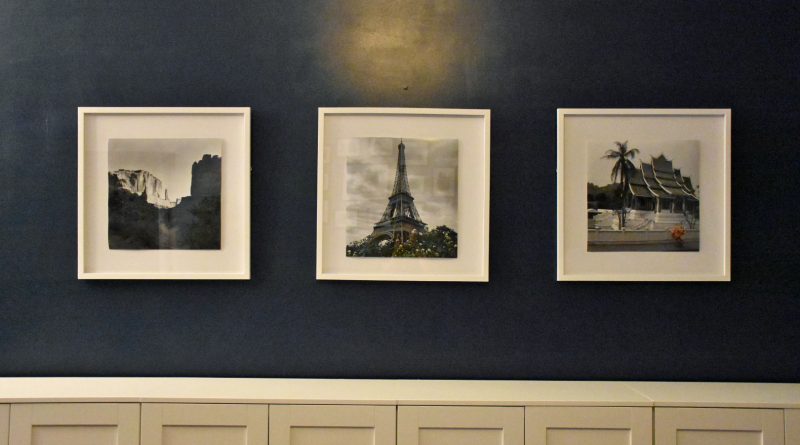
Floating Frames
This was a fun project. I have been on the hunt for nice frames to house some of my photographs for quite some time. Frames large enough for the print size that I wanted are expensive. I saw these floating frames at on sale at a craft store and fell in love. Best part was that they were on sale at a reduced price of $12.49!
What you’ll need:
Floating Frame
Utility Knife
Staple Gun with staples
Screwdriver (to help remove the staples)
Pliers (to help remove the staples)
Ruler
Pencil
Double sided Tape (or roll up regular tape)
Picture of choice
1) Turn the frame over and using the utility knife remove the paper covering the back if any.
2) Use the screwdriver and pliers to remove the existing staples, which are holding the board onto the frame.
3) Measure the existing art.
4) Measure the same dimensions or slightly larger area on the picture that you would like to use. Use a pencil to mark those dimensions. Cut the picture to size using a utility knife.
5) Place double-sided tape on the original art (on the board) where you will place your new picture. Gently lay your picture on top, but do not press down to secure the picture on the board.
6) Use a ruler to ensure that the picture is centered on the frame. Then press the picture into place.
7) Clean the glass (if needed). Return the board with your picture to the frame.
8) Use the staple gun to secure in place.
9) Make sure to follow the instructions that came with the original frame for hanging.
Discover more from Crafts to Crumbs
Subscribe to get the latest posts sent to your email.