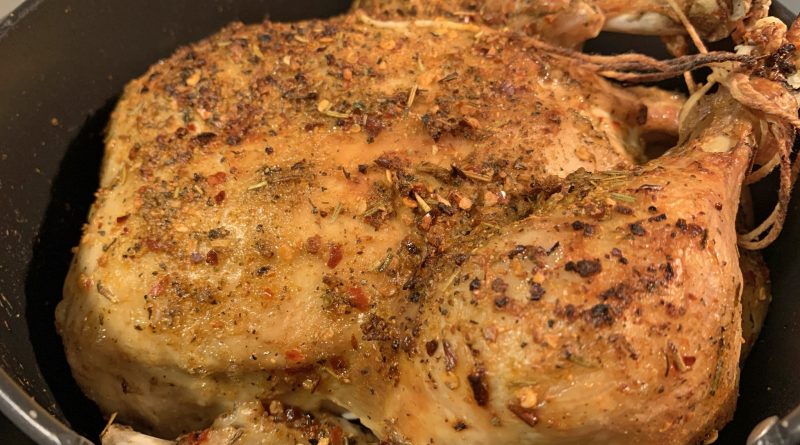
Multi-Cooker Roast Chicken and Gravy
This is an easy roast chicken recipe made with a multi-cooker (Ninja Foodi). I’m using a seasoning blend that adds a little bit of heat and a lot of flavor. It’s quick and takes little effort. With no commute time and longer workdays. The days are busier nowadays. This has been added to our Sunday night rotation with plenty of leftovers to last into the week.
It’s super easy and you can customize to whatever flavors or seasonings that you like or what you have on hand. No fuss. The best part is that you can use the dripping for gravy and the chicken bone can be used to make broth. No waste!
Notes:
• Seasoning – You can use any seasoning blend you like. To make your own seasoning similar to the Kickin’ Chicken seasoning, mix granulated garlic, granulate onion, dried thyme, salt, pepper, dried red chili pepper, orange zest, sugar and just a little bit of paprika for color. For an Asian flavor profile, mix together granulated garlic, onion, granulated ginger (or grounded lemongrass) salt, pepper, dried red chili pepper, lime zest, and brown sugar. Make sure to add crushed ginger pieces or crushed lemongrass to the pot with the broth for added flavor.

• Cook time may vary – depending on your multi-cooker, the cook time may vary. Follow the pressure cooker chart for your cooker. The model that I have, recommends 25-30 minutes of pressure cooking for a 4 ½ -5 lb chicken. That means, if I have a 4 ½ lb chicken, I will stay closer to the lower end of the recommended time of 25 minutes and if I had a larger, 5 lb chicken, I would pressure cook for closer to 30 minutes. The important thing is chicken to rest to 165F internal temperature.
Multi-Cooker Roasted Chicken
Serves: 4
Total Cook Time: 45-55 Minutes
Pressure Build: 8-10 Minutes |Pressure Cook: 25 Minutes |Natural Release: 5 Minutes |Air Crisp: 10-15 Minutes
1 (4 ½ – 5 lb) whole young chicken
1 cup low sodium chicken broth
2 sprigs thyme/crushed pieces of ginger or lemongrass (optional – for added flavor)
2 Tablespoons softened butter
1 ½ – 2 teaspoons Kickin’ Chicken Seasoning (or favorite seasoning blend – see note)
• Rinse and clean chicken. Use kitchen twine to tie the legs together.
• Place the chicken into the Cook & Crisp basket in the pot. Add sprigs of thyme or ginger/lemongrass to the pot if using.
• Assemble the pressure cooker lid. Position the pressure release valve to SEAL position. Select PRESSURE and set on high. Set the time to 25 minutes. Select START/STOP to begin.
• When the pressure cooking is complete, let the pressure natural release for 5 minutes. That means do not adjust the valve release position.
• After 5 minutes of natural release, move the pressure release valve to VENT position to quick release. Do not remove lid until pressure has finished releasing.
• Brush with softened butter. Season with about 1 teaspoon of seasoning.
• Select AIR CRISP, set temperature to 400F and time to 10 minutes. Select START/STOP to begin. Let it cook until desired crispness. You may add a couple more minutes to this time.
• Halfway through, open the lid and brush with additional butter and add the other ½ teaspoon seasoning.
• Remove Cook & Crisp basket from the pot and let the chicken rest to 165F internal temperature.
• See below to make gravy.

Gravy
Cook Time: 5 Minutes
2 tablespoons cornstarch
2 tablespoons water
Salt (to taste)
Pepper (to taste)
• With the remaining liquid in the pot from roasting the chicken.
• Select SEAR/SAUTE and START/STOP to begin.
• Make a slurry with the cornstarch and water. Add slurry to the pot and let it cook down for a minute or two until it has thickened.
• Give it a taste. Season with salt and pepper to taste.

Other Multi-Cooker (Ninja Foodi) Recipes
Discover more from Crafts to Crumbs
Subscribe to get the latest posts sent to your email.