Khai Nok Khata (Pumpkin Spice Edition)
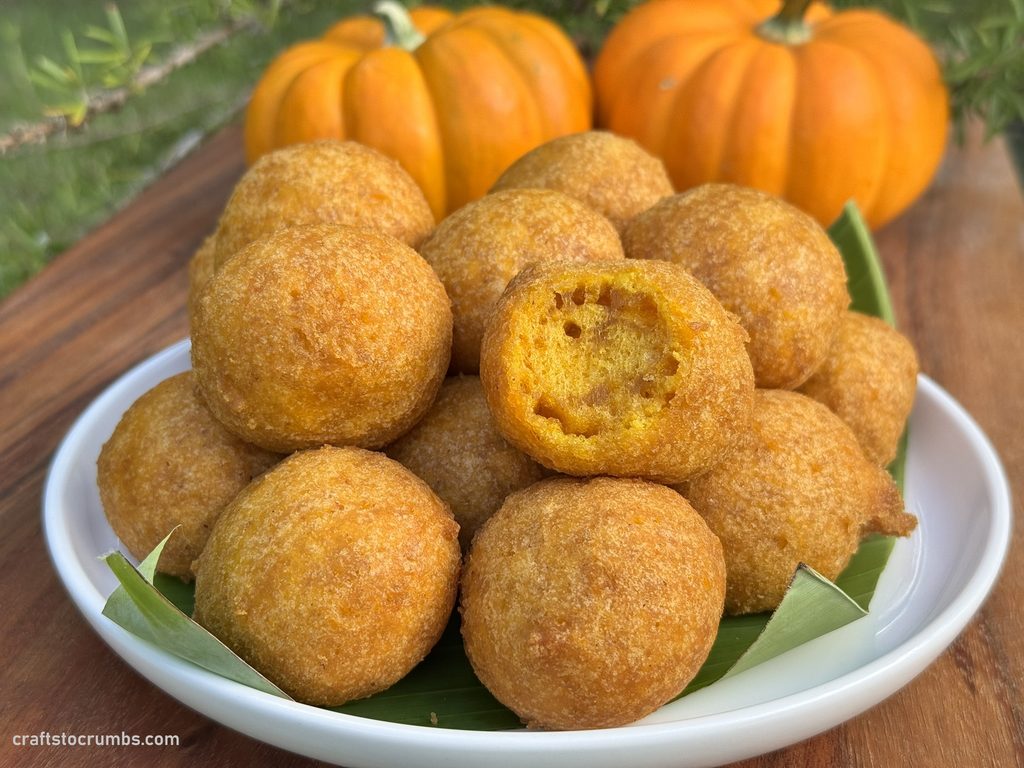
It has been six years since I shared my original Kanom khai nok khata recipe. Khai nok khata means quail eggs. Sometimes it is called khai tao, which means turtle egg. I don’t feel strongly about calling them by one name or the other. And in my opinion the name is a better indication of the sizes. Quail eggs tend to be smaller than turtle eggs. That’s how I will use the name going forward. In any case, by any name they are chewy, fried, and delicious!
For those who have not had Kanom khai nok khata, it is soft, airy, and taste mochi-like. I wouldn’t call it mochi since it is not made of rice or rice flour. However, texturally, it is closer to a mochi doughnut than a wheat flour yeasted doughnut.
In retesting the recipe for the family cookbook, I found extra pumpkin puree in the fridge from the batch of pumpkin cinnamon rolls and thought, “Why Not?” So, this is my pumpkin spice spin on the classic Southeast Asian dessert.
Notes:
Pumpkin puree – I used canned pumpkin puree. That saves time compared to making the original sweet potato version because I didn’t have to cook and make the puree.
Size – traditional Kanom khai nok khata are smaller in size. However, for convenience, I used a cookie scoop, which yields in 1.5-inch balls after frying and in this case I would be inclined to call them Kanom khai tao.
Pumpkin spice – make your own pumpkin spice with cinnamon, ground ginger, ground nutmeg, and ground allspice or cloves.
Original Kanom khai nok khata – recipe here.
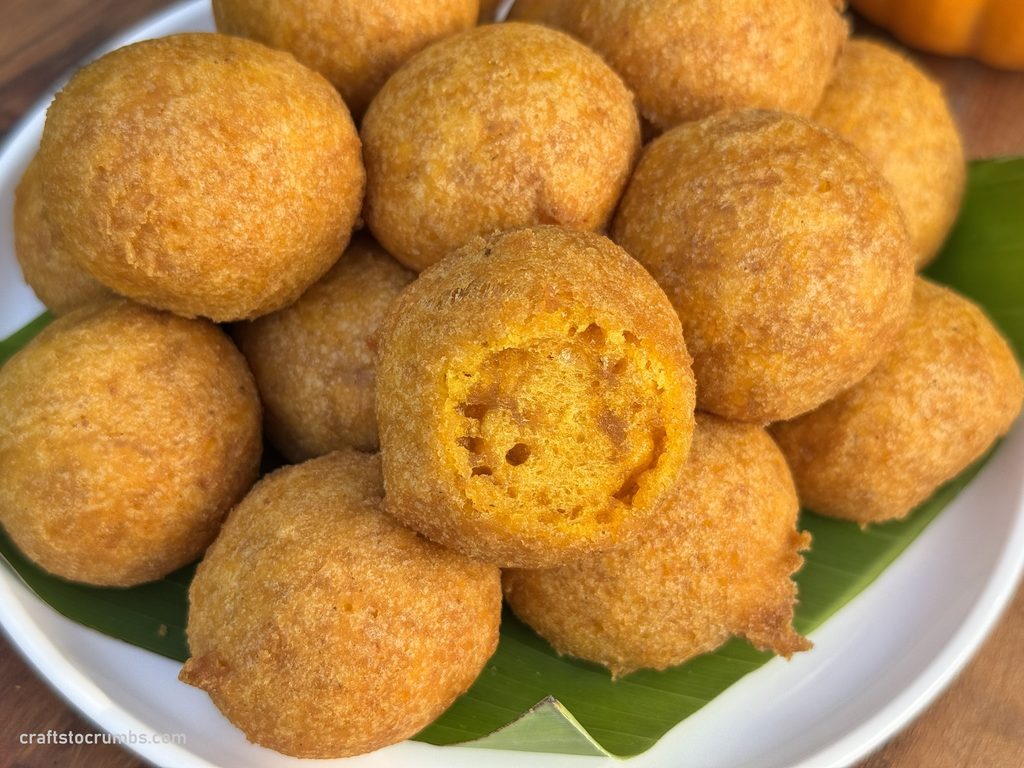
Kanom Khai Nok Khata (Pumpkin Spice)
Yields: 20 1.5-inch doughnuts
Time: 45 minutes (including resting time)
¾ cup pumpkin puree (not pumpkin pie filling)
1 ½ cup tapioca starch (or flour)
½ cup all-purpose (AP) flour
2/3 cup sugar (or to taste)
1 teaspoon baking powder
½ teaspoon salt
½ teaspoon pumpkin spice
½ cup coconut milk
Oil for frying
- In a large mixing bowl, mix tapioca flour, AP flour, sugar, baking powder, pumpkin spice, and salt. Add the pumpkin puree, followed by coconut milk. Knead or stir with a spatula until ingredients are well combined and a dough forms. It should be smooth and not tacky to the touch. If dough is too dry, add more coconut milk 1 tablespoon at a time, making sure to knead very well to ensure ingredients are completely incorporated before adding more. For this version, the dough will look slightly wet and that’s okay.
- Cover dough with a tea towel and allow it to rest for 20-30 minutes.
- Heat oil to 350℉. You’ll need at least 2 inches of oil to ensure that the balls are fully covered by oil.
- Use a 1-inch cookie scoop to scoop the dough and drop scoops of the dough into hot oil and fry for 4-6 minutes or until golden brown. Make sure to stir often and submerge balls under the oil to ensure even cooking and puffing.
- Remove from oil with a slotted spoon and let drain on a paper towel.
- Serve and enjoy!
Discover more from Crafts to Crumbs
Subscribe to get the latest posts sent to your email.