How to Sprout Your Own Sprouts!
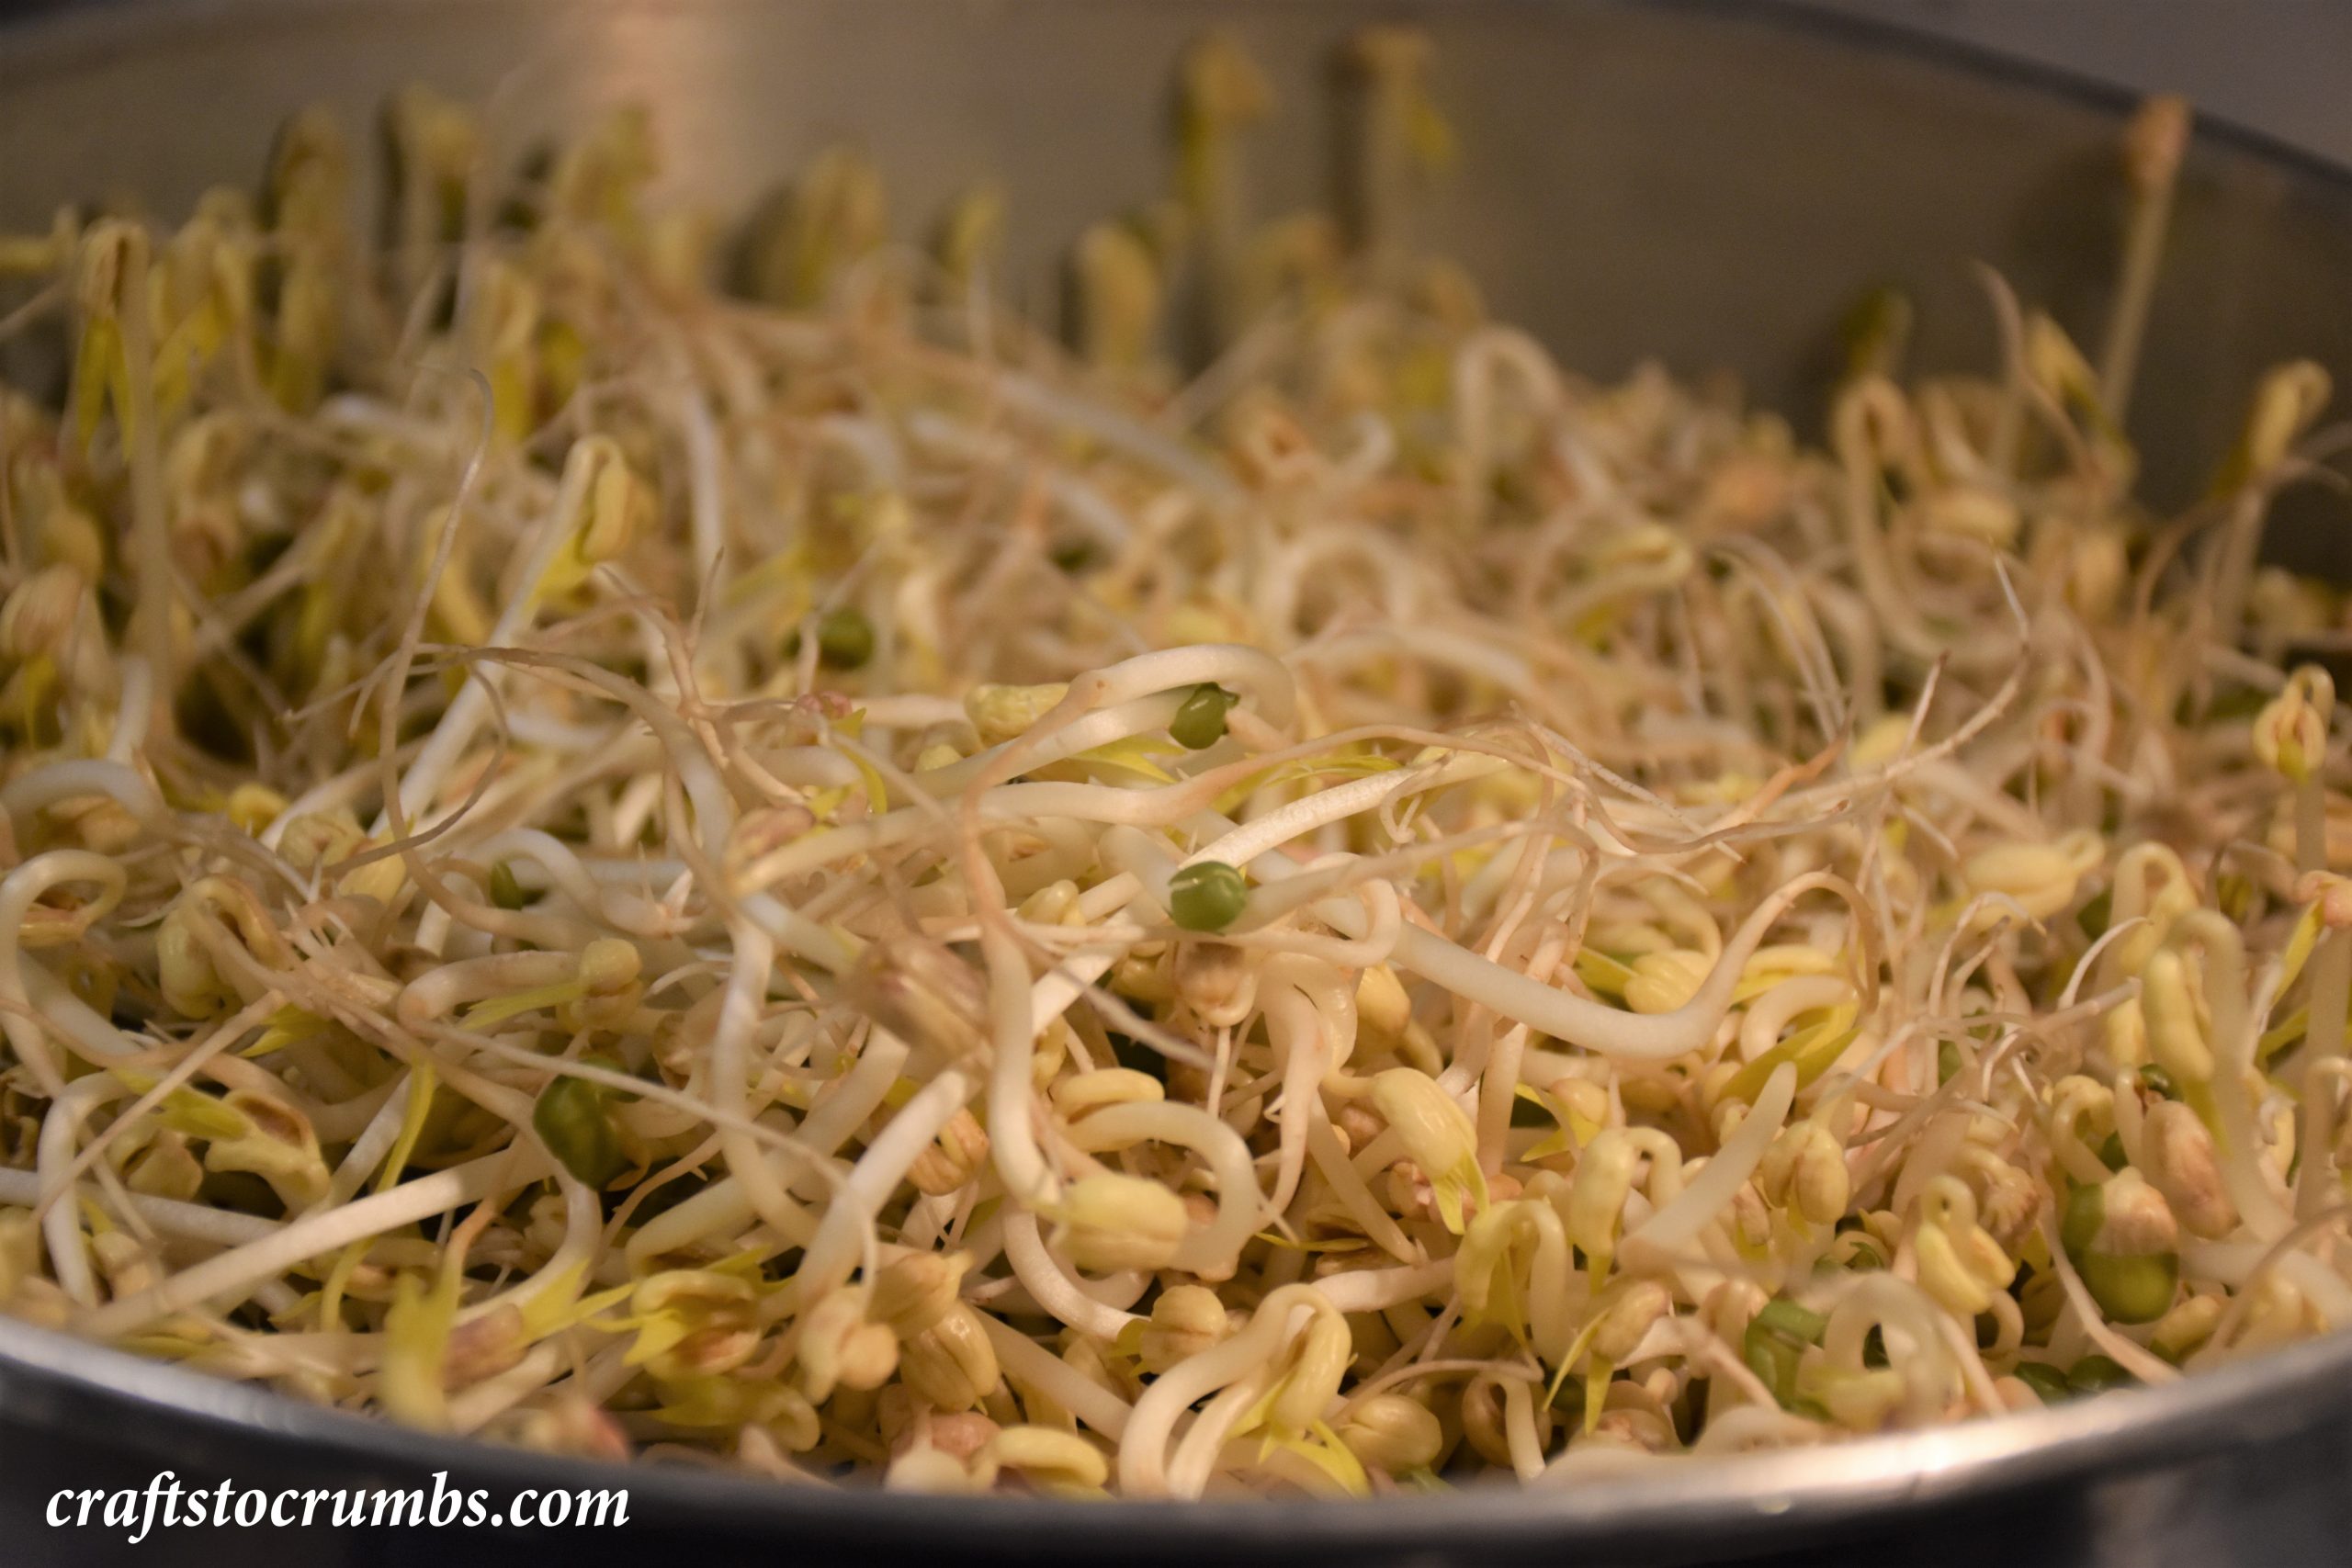
Sprouts are nutrient rich and high in antioxidants. Best of all, you can easily grow them at home. My family typically sprout mung bean sprouts, which are used to top various noodle dishes; like pad Thai, Khua Mee (pad Lao), or pho and they are great in stir fries too. For me they are one of those ingredients that are great fresh and just as good fried. Kind of like cucumber. If you haven’t tried cucumber in a stir fry, give it a try.
But I digress. The method that I’m using is one that my family has used for as long as I can remember. We use a stainless-steel steamer. You didn’t think your steamer was a multi-tasker, did you? Yet, here we are.
Here are a few notes:
- The equipment – in this case, I’m using the stainless-steel steamer, as mentioned. Aside from creating an ideal environment for sprouting, it gives you more space for sprouting, meaning more sprouts than some of the more common household methods. Mason jars are commonly used for sprouting. Cover the mouth of the jar with a cheesecloth and affix with a large rubber band or string. Pour water into the jar through the cheesecloth to rinse and drain it through the cloth. There are also lids fitted for mason jars made for sprouting available in stores and online. For those who like fancy toys, there are gadgets made specifically for sprouting or growing micro-greens that reminds me of terrariums. If that’s what you’re into, go for those. My niece conducted a science project a while back, where she sprouted bean sprouts in brown paper bags. All you really need is a moist environment that allows air to circulate. You don’t really need fancy gadgets. And by sprouting yourself, you’ll be creating an environment that you control! Keep everything clean and reduce the chances of contamination, which is more common in larger commercial operations.
- Check out other options to grow your own bean sprouts on available on Amazon.
- “Hello darkness, my old friend” – Darkness helps for mung beans, but for other sprouts like the radish sprouts, sunlight doesn’t seem to hurt them either. Most of them grow just fine in the dark though. It’s mimics germinating seeds in dirt.
- How much to sprout? Be mindful of how much seed/beans you use. It can be very deceptive, unless you’re literally counting each seed. One teaspoon of radish seeds produces about a 6 oz container worth. That cup of mung beans that I sprouted produced over 3 pounds of bean sprouts.
- The beans/seeds – there are so many beans and seeds you can sprout. Most are packed with vitamins. Radish sprouts are spicy and tastes just like radish. They would be great in salads. Lentils are high in fiber and protein. I picked up green lentils from my local grocer from the dried beans section and sprouted them. Do a little research and you will find a large array of beans and seeds that you can sprout. I will add some caution here and say, please do your research and don’t just go sprouting whatever. Black beans, for example, need to be cooked before they can be consumed and their sprouts shouldn’t be eaten raw either. When in doubt, look for beans and seeds specifically for sprouting. You’ll be surprised by what’s out there. The world is your science lab/garden.
How to Sprout Your Own Sprouts
Special equipment – Two tray stainless-steel steamer (or mason jar and sprouting lid)
- In a small bowl, soak the desired about of beans or seeds overnight.
- Line the steamer trays with cheesecloth and set aside.
- The next morning, rinse the soaked beans and strain them.
- Distribute them evenly onto the cheesecloth lined steamer trays. Rinse the beans and the cheesecloth and allow the trays to drain in the sink for a minute or two.
- Assemble the steamer pot with the trays and then cover with the lid. Set the steamer in a corner of your kitchen somewhere and forget about it for a day. Do not place over direct heat. You’re not cooking the beans.
- The next day, give the beans a rinse and let the tray sit in the sink to drain for a minute before returning the tray onto the pot and covering with lid.
- Check on your beans every day. Make sure to rinse, drain and repeat.
- After about three days the beans should be ready to consume. Depending on what you are sprouting, it may take a day or so longer. Give it another rinse, and let them air dry on some paper towels before storing in a dry container or consuming them.
- Enjoy!
Discover more from Crafts to Crumbs
Subscribe to get the latest posts sent to your email.