Cake Eyeballs
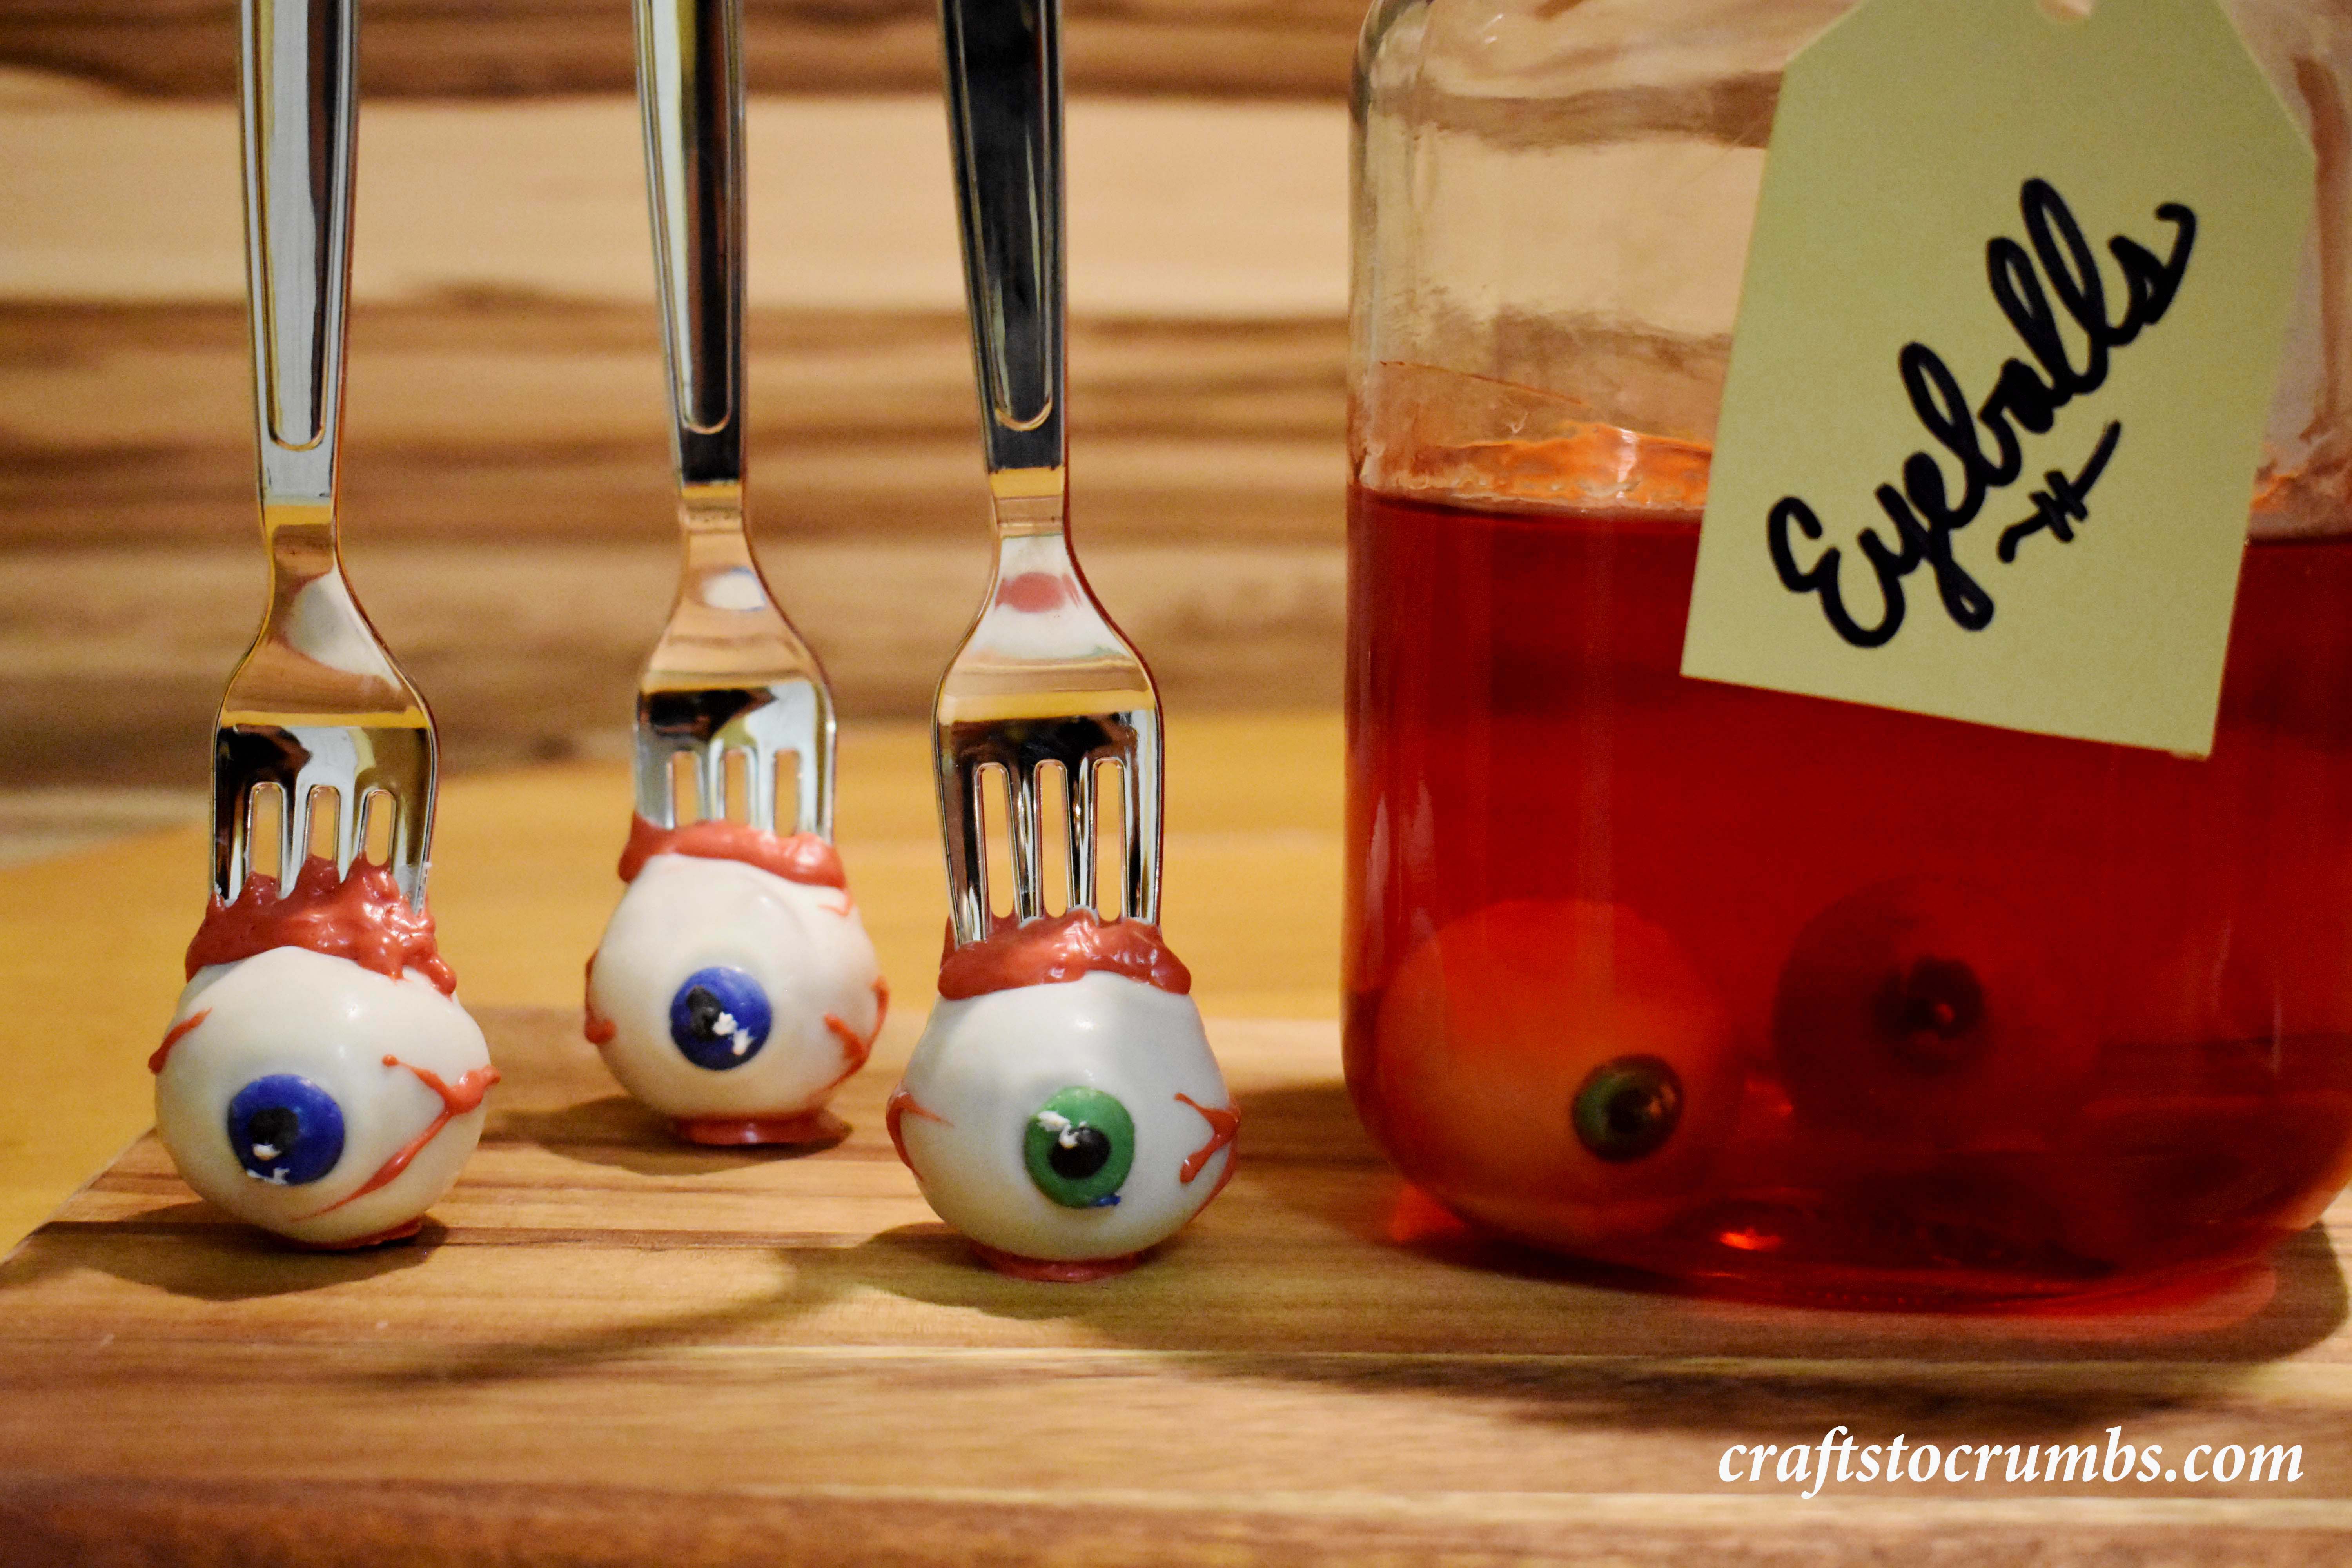
Deliciously creepy cake pops made to look like eyeballs. Since Halloween is right around the corner, I wanted to play a little. This would also be great if you have older kids. They can be made with any of your favorite cakes and frosting. You can even choose the eye colors.
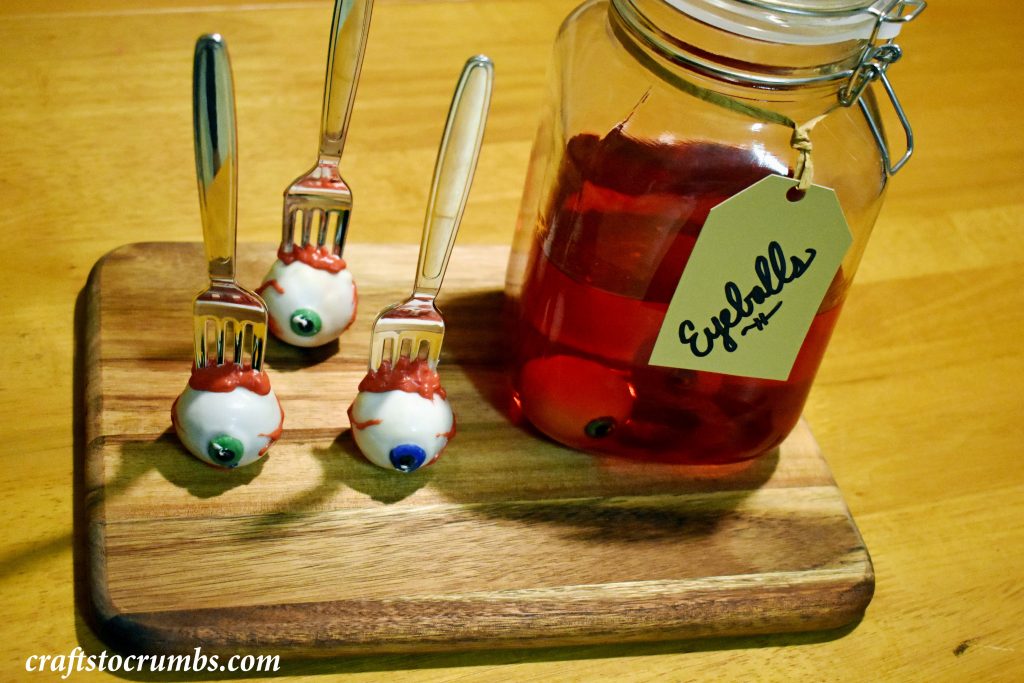
I also thought it would be cute, if I made it look like the cake eyeballs were being served straight out of a jar. Can you imagine your dessert table with a nice silver platter, a jar of eyeballs and a couple dozen eyeballs sitting beside it. That would be both trick and treat.
I learnt a few things about cake pop making during these eyeball sessions. And yes there was more than one sessions (as always). Below are my notes and recipe:
Notes:
- When dipping the cake ball into the candy melt, make sure that your cake ball is not too cold and your candy melt is not too hot. The differences in the temperature can cause cracks in your cake ball. Allow you candy melt to cool slightly.
- When mixing your cake and frosting, add only a little bit of frosting at a time. Mix it well before adding more. This will help you from adding too much, which will yield soft and wet cake balls.
- If you want rounder cake balls, you can stick the end of the fork in styrofoam or in a jar of dried beans and let the cake ball cool completely this way. But keep in mind that round eyeballs may not stand the other way and you would have to pipe a dab of candy melt to form a foot for them later. Otherwise serve them in a container with eyeballs up.
- I don’t recommend the black cherry flavored Jello as it is too dark and you can’t see the eyeballs in the jar too well. But most other colors will work. Even yellow or green or pickling type colors.
Cake Eyeballs
Time 2 hours
Yields 24-26
For the cake eyeballs
1 cake recipe (homemade, store bought or from mix) -I used the cupcakes that I had in freezer
¼ cup frosting – (homemade or store bought)
24-26 plastic forks
2 oz red candy melts
2 oz white candy melts
2 oz green/blue candy melts (or any color that you want iris to be)
2 oz black candy melts
12 oz white candy melts
- For the iris and pupil:
In microwave safe bowls, using microwave at 30 second intervals, melt 2 oz (each color) candy melts in iris colors, black for pupil and white for glare. Stir after every 30 seconds in the microwave. Place each into a separate piping bag. Except do not bag the white candy melts. - Pipe a ½ inch circle using the desired iris color. Then pipe a smaller black pupil circle in the iris circle. If you get peaks from pull the piping bag, use the tip of a clean toothpick and gently run it over the top to smooth it out. Take a toothpick and dip the tip in the melted white candy melt, then dip it on the piped pupil. Allow to cool and set. Work on a few at a time so they don’t set before you get through all the steps.
- For the cake balls:
- With clean hands or gloved hands break apart you cooled cake into fine crumbs. Add frosting a tablespoon at a time and mix until the cake forms a dough and holds together. If it’s crumbly you need more frosting. If it’s too soft and wet, you need more cake.
- Using a cookie scoop, scoop out equal amounts of cake. Roll by hand to form uniformly smooth balls. Place the cake balls into the fridge for 10-15 minutes.
- Using microwave, melt the red candy melts. Dip the plastic fork into the bowl of melted red candy melts, then insert it into the top of a cake ball. Allow it to set for a few minutes. You may stick it back in the fridge to help set. This will keep the forks on the cake ball.
- In a microwave safe bowl (I used a mug), melt the white candy melts using the same 50% power at 30 second intervals. Dip the fork with cake ball until it is complete submerged in the white candy melt. Twirl the fork and gently shake off excess coating. Place the iris on the side of the cake ball and then set on parchment lined baking sheet. Make a couple of cake balls without forks for the jar.
- Once it has cooled and hardened, take the rest of the red candy melt and pipe bloody details on the top and side of the cake balls.
- For the “From the Jar” edible presentation
2 (3oz) boxes of Jello – preferably a lighter color so you can see the eyeballs
2 forkless cake eyeballs from above
1 jar & a gift tag for labeling
Follow the instructions for the Jello. If you have a smaller jar, you may not need both boxes. Pour into clean jar. Allow to cool completely before place cake eyeballs. You want the Jello to be cooled otherwise it will melt the coating off the eyeballs. Tie the gift tag around the neck of the jar. You can let it set completely or set it out just for presentation immediately.