Kanom Kai Hong **Updated**
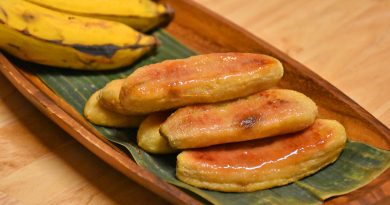
An alternative version to the classic sesame balls. It’s made using similar methods and the notable differences are all on the outside. I revisited the recipe recently when I made the dessert for friends and family.
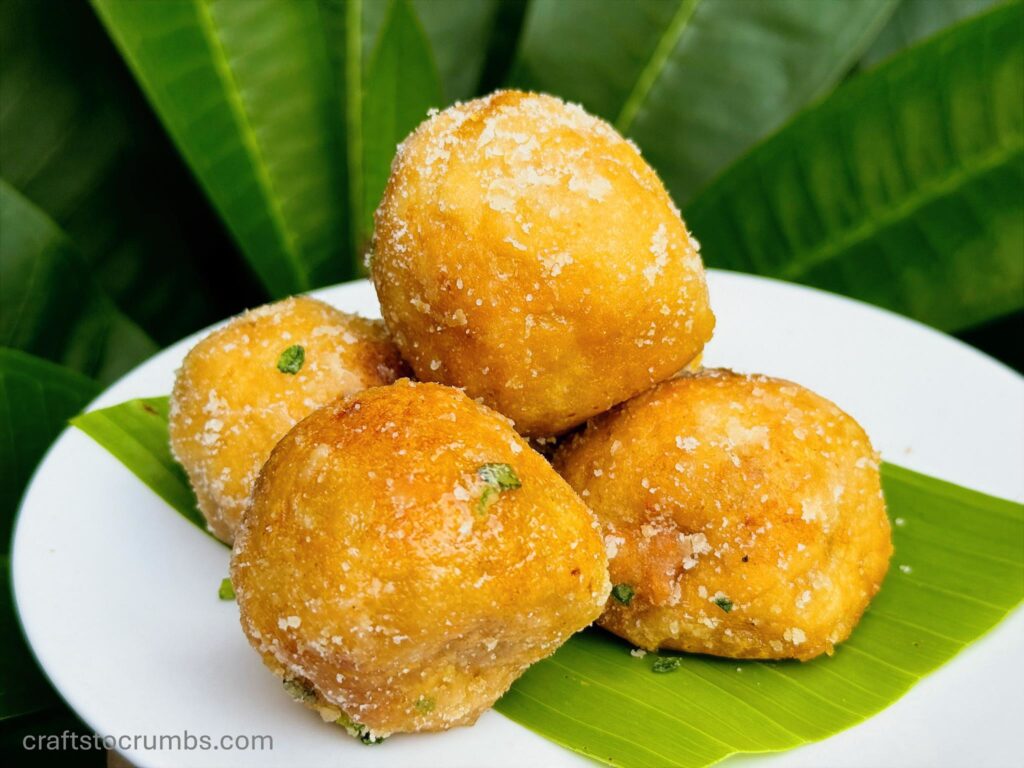
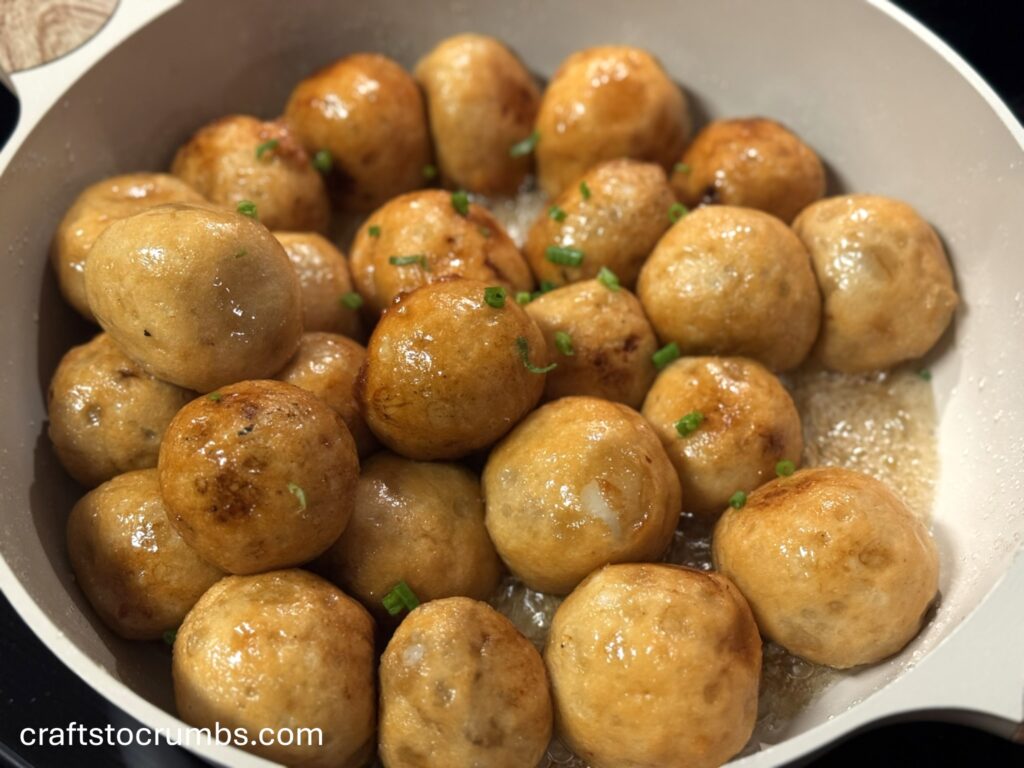
This dessert creamy on the inside, sweet, crunchy, with a hint of savory with the addition of green onions. It’s like a glazed doughnut meets sesame balls with a hint of savory.
These are the notes from the original, plus my new notes.
Here are my notes (also see notes for sesame balls):
• Mung bean filling – make sure to soak for at least 4 hours and rinse very well before steaming. You can also boil the mung beans, but you may have to cook the filling after it is mixed to cook out the excess liquid. And a modern kitchen shortcut, a great way to do this is to stick it in the microwave and microwave in 30 second intervals, stirring until liquids have dried out. Oh! And like the kanom thua paep, you can add coconut flakes into the filling for extra texture and taste.
• Frying – when you drop the balls into the fryer and while frying make sure to stir constantly. These balls are not coated with sesame, so they will stick together.
• Liquids in the dough- there’s something about the weather can cause this dough to be so thirsty sometimes. If you use a whole can of coconut milk and it’s still dry, try adding water, one tablespoon at a time. And make sure to knead completely before any addition of liquid because once you put too much in, you can’t take it out and it will be hard to save the dough from that point.
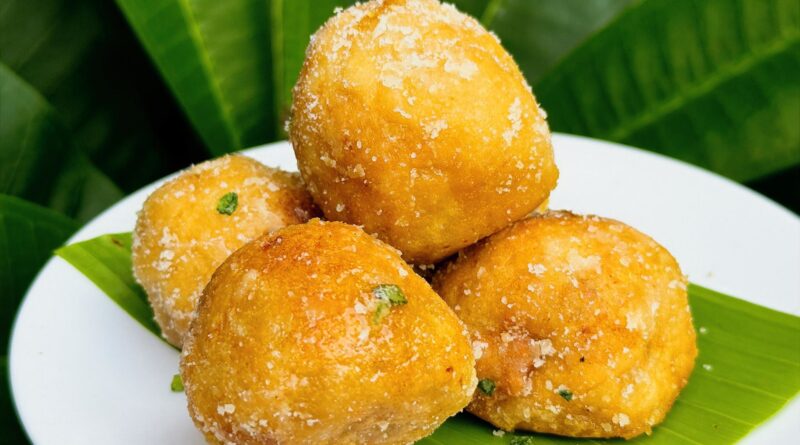
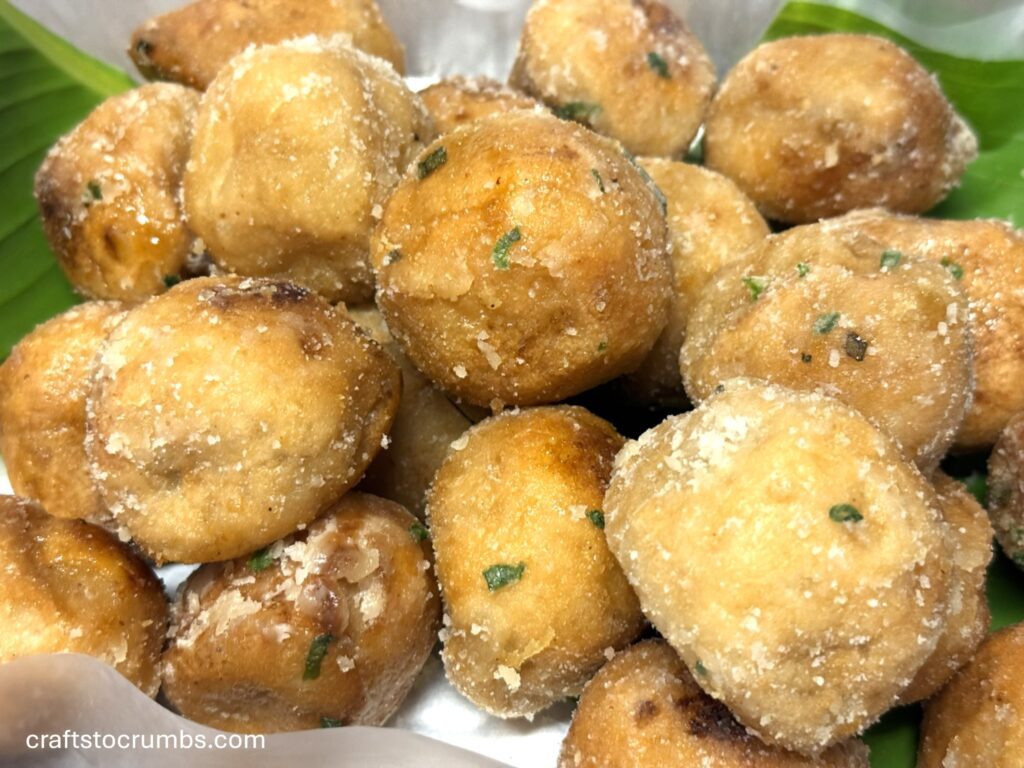
• Sugar glaze – if you want a thinner glaze use equal amount 1/2 cup water to 1/2 cup sugar. If you want more classic sugar crust, increase the amount of sugar to about 3/4 cup and decrease the amount of water to about 1/4 cup. Toss the green onions in after a few toss to coat the kai hong balls.
• Baking Powder – the baking powder helps with the roundness, but I don’t find that they are necessary in this version. The rustic-ness of the kanoms is part of the charm.
Kanom Kai Hong (Sugar Glazed Version)
Makes 30-36 balls
Dough
1 (16 oz) bag glutinous rice flour (green bag)
¼ cup rice flour (red bag)
2 teaspoons baking powder
2/3 cup sugar
½ teaspoon salt
1 1/2 cup coconut milk (plus more if needed – I ended up using 1 (13.5 oz) can)
In a large bowl, combine flours, baking powder, sugar and salt. Slowly add in coconut milk, kneading between addition until the dough is soft, smooth and like playdough consistency. You may not need all the coconut milk, or you make need more. Make sure you knead the dough to incorporate the coconut milk completely before adding any more.
Filling – or Taro Filling
1 cup dried split mung beans (soaked for at least 2 hours)
½ cup sugar
½ teaspoon salt
Steam the mung beans for 20-25 minutes until soft and mashes easily between fingers when pressed. While the beans are still warm, mash the mung beans and mix with sugar and salt. The warmth will help dissolve the sugar. Roll into one-inch balls. Set aside.
To assemble:
Flatten an inch of dough ball into a circle about 2 inch wide. Place rolled filling onto the flattened dough. Pinch the edges and roll into a smooth ball. Set aside until ready to fry. If the dough seems to dry, dip it in the water to help smooth them out.
Heat up oil in a heavy pan until it reaches 350F (325F if using a Dutch oven). Fry a few balls at a time. Make sure to turn the balls when they are still on the bottom of the pan, so they don’t get over cooked on one side. Turn the kanom balls as needed when they float to the top, as thicker sides tend to roll under the oil, while thinner sides will be above the oil, which could lead to uneven cooking and browning. Unlike the sesame variety, these tend to stick to each other so stir constantly to keep them from sticking. Fry for 5-7 minutes until balls are golden brown.
Sugar Glaze
½ cup – 3/4 cup sugar
¼ cup water**
¼ teaspoon salt
1 green onion, minced (optional)
In a large pan or wok, heat up sugar and water until rapid bubbles cover the entire pan, add fried balls into pan and stir constantly until liquid is gone. Toss in the minced green onion, using. Enjoy.
Discover more from Crafts to Crumbs
Subscribe to get the latest posts sent to your email.